スタッフから配送時間を選べるようにして欲しいと要望があったので、検討するところから、スタート。
まず、使う前に期待していたShopifyのメジャーアプリ「配送日時指定 .amp」なんですが、試したところ、時間指定のみを使う(日付指定を使わない)という設定ができなかった(うちの店の場合、納期が長い商品があるけども、商品によって配達日を変えることはできないので、いっそのこと日付指定は受けていないのです)。
また、GoQというOMS(受注一括管理システム)を使っているのですが、そこに入ってくる注文情報に、カートで設定した時間指定情報が受け継がれないことがわかった。
そこで、ネットの情報を参考に、テーマのコードを修正して、時間をセレクトボックスで選ばせ、連絡事項欄に転記する、という方法にしました。
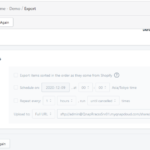
1.以下の記事を参考に、配送時間指定のセレクトボックスをカート画面に設置
[Shopify] 配送時間指定を無料で実装する(Debutテーマ)|TORUBLOG
サンプルコードのcart-deliverytime.liquidを以下のように修正。
(idをセットしたり、時間を変えたりしただけ)
[code]
[/code]
2.cart-template.liquidのテンプレートを修正
現状、メモ欄(Shopifyのコードでは{ note })が、テキストリンクのオンオフで開く仕組みになっているので、常時表示にする。
[code]
{% if section.settings.cart_notes_enable %}
{% endif %}
[/code]
を、以下に修正。
[code]
{% if section.settings.cart_notes_enable %}
{% endif %}
[/code]
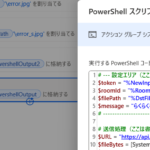
3.JavaScriptをテーマに追加
theme.jsの一番下に、以下のコードを追加。
[code]
// 2021/12/7(火) 日時指定対応
$(document).ready( function() {
$(function() {
$(“#date”).datepicker( {
dateFormat: ‘yy/mm/dd’,
minDate: +4,
maxDate: ‘+14D’,
showMonthAfterYear: true,
monthNames: [‘1月’, ‘2月’, ‘3月’, ‘4月’, ‘5月’, ‘6月’, ‘7月’, ‘8月’, ‘9月’, ’10月’, ’11月’, ’12月’],
dayNames: [‘日’, ‘月’, ‘火’, ‘水’, ‘木’, ‘金’, ‘土’],
dayNamesMin: [‘日’, ‘月’, ‘火’, ‘水’, ‘木’, ‘金’, ‘土’],
} );
});
});
document.getElementById(“deliverytime”).onchange = function(){
// var dw = document.getElementById(“deliverytime”);
var i = deliverytime.selectedIndex;
var s_value = deliverytime.options[i].value;
// alert(‘s_value’);
if (i == 0) {
document.getElementById(“CartSpecialInstructions”).value = null;
}
else {
document.getElementById(“CartSpecialInstructions”).value = ‘配送時間指定:’ + s_value + ‘\n’;
}
};
[/code]
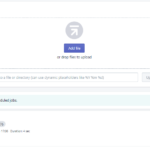
4.以下の情報を参考に、カートの最終画面に、入力された時間指定を表示
チェックアウト-追加スクリプト-注文状況ページ。
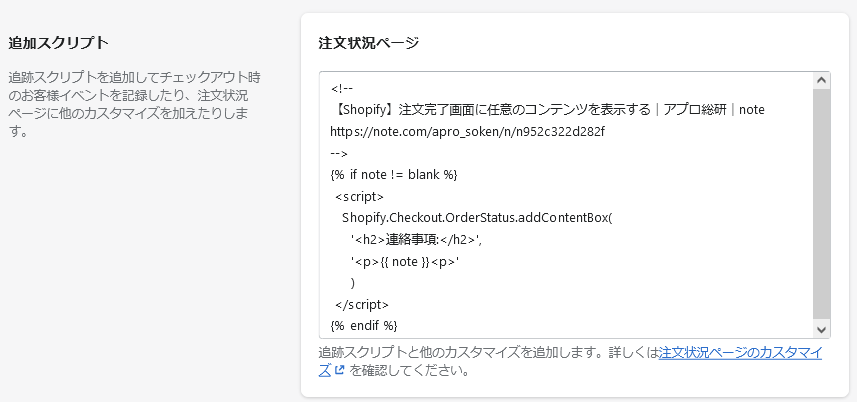
【Shopify】注文完了画面に任意のコンテンツを表示する|アプロ総研|note
https://note.com/apro_soken/n/n952c322d282f
5.注文確認の通知メールのテンプレートを修正
フッターの直前のテーブルの最後あたりに、入力された時間指定を表示。
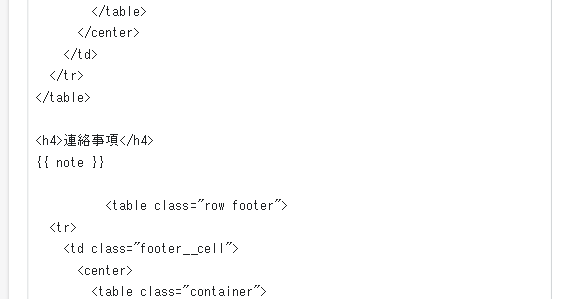
[code]
連絡事項
{{ note }}
[/code]
結構、直すところが多かったけども。。。以上。
追記:
追加スクリプトの表示が、うまくいく時といかないときがあって、かなり難儀しました。
調べるうちに、連絡事項欄に改行があるとうまくいかないことがわかりました。
じゃあ、改行を消せばいいのだなと、そこまではわかったのですが、そこからがまたうまくいかなくて。。。
ダメなコード:
[code]
{{ note | replace: ‘ \n’ ,’
‘}}}
[/code]
最終的にOKのコード
[code]
{{ note | strip_newlines }}
[/code]